Getting Started
Chapter 1 — Getting Started. Install, activate, and run your first session.
Plugin version: v2.1.4
1.1 What Bossy does (and what it doesn't)
Bossy Bulk Editor is a WordPress admin plugin that gives WooCommerce store owners a spreadsheet-style screen for editing products. Instead of opening one product page at a time, you load a paginated grid of your products, edit rows inline, and run bulk actions across the rows you select. No page reloads, no clicking through to individual product edit screens to change one field.
It is built for people who maintain catalogs at volume. If you have 200 products and need to put a category on sale, raise the prices of one brand by 8 percent, or add a tag to thirty listings before a holiday weekend, this is the screen for that work.
What Bossy is good at:
- Editing the same field across many products at once — price, sale price, stock, categories, tags, shipping class, featured, menu order, tax class, weight, dimensions, and short/long descriptions
- Managing variable products and their variations without leaving the grid
- Generating sequential SKU schemes for new product launches
- Rolling back a bulk operation that went sideways, within the limits of the undo system
- Importing product data from a CSV with smart column mapping (Pro)
- Managing product galleries from one screen (Pro)
What Bossy is not:
- A backup system — not even close. Undo rolls back Bossy's own tracked edits and nothing else: not your database, not your media library, not your theme or other plugins, not a botched host update or a plugin conflict. If something breaks outside Bossy, undo cannot bring it back. Keep real, scheduled, off-site WordPress backups running. Bossy's undo is a seatbelt, not a spare car — never treat it as your backup.
- An order management tool. Bossy does not touch orders, customers, or fulfillment.
- A storefront theme. Bossy adds optional gallery layouts in Pro, but it is not a page builder and does not replace your theme.
- A migration tool by itself. The Pro CSV import handles a lot of migration work, but you are responsible for the source data.
1.2 System requirements
Before installing Bossy, make sure your site meets these minimums. These are the exact requirements the plugin declares in its own header:
- WordPress 5.9 or newer. Tested up to WordPress 7.1.
- PHP 7.4 or newer. Most modern WordPress hosts run PHP 8.x by default.
- WooCommerce 7.0 or newer, installed and activated. WooCommerce is a required plugin — Bossy will not activate without it.
- A modern browser with JavaScript enabled. The bulk editor grid is a JavaScript application; without JS it will not render.
Themes that have been tested with Bossy:
- Blocksy (with full Flexy gallery integration)
- Kadence
- Astra
- Storefront (the official WooCommerce theme)
- Twenty Twenty-Five
Other themes will generally work, especially classic WooCommerce-aware themes. If your theme heavily overrides the product page template, the Pro gallery features may behave differently. The bulk editor itself runs entirely inside WordPress admin and does not care about your theme.
Catalog size and performance
Bossy has no hard product cap. These import benchmarks were measured on Bluehost Basic — the same tier most Bossy customers use:
- 200 products → under 1 minute
- 2,000 products → approximately 7 minutes
- 5,000 products → approximately 21 minutes
- 10,000 products → approximately 53 minutes
These are destructive import tests (full wipe, then re-import) — the most demanding scenario. Product success rate was 100% across all catalog sizes. Image attachment success at 10,000 products was 99.94% — the small remainder recoverable via Resume image sync without re-importing products.
For the Bulk Editor (inline editing and bulk actions), comfortable page sizes on shared hosting are 25-100 rows. Bulk operations on selections of 200-500 rows work reliably. Operations on larger selections benefit from chunking — select in batches, apply, repeat.
Performance on VPS, managed WordPress hosting, or cloud infrastructure will be faster across the board. If you experience slowness on a large catalog, the limiting factor is almost always server resources (CPU, RAM, PHP workers, MySQL) rather than Bossy itself.
1.3 Installing the free plugin
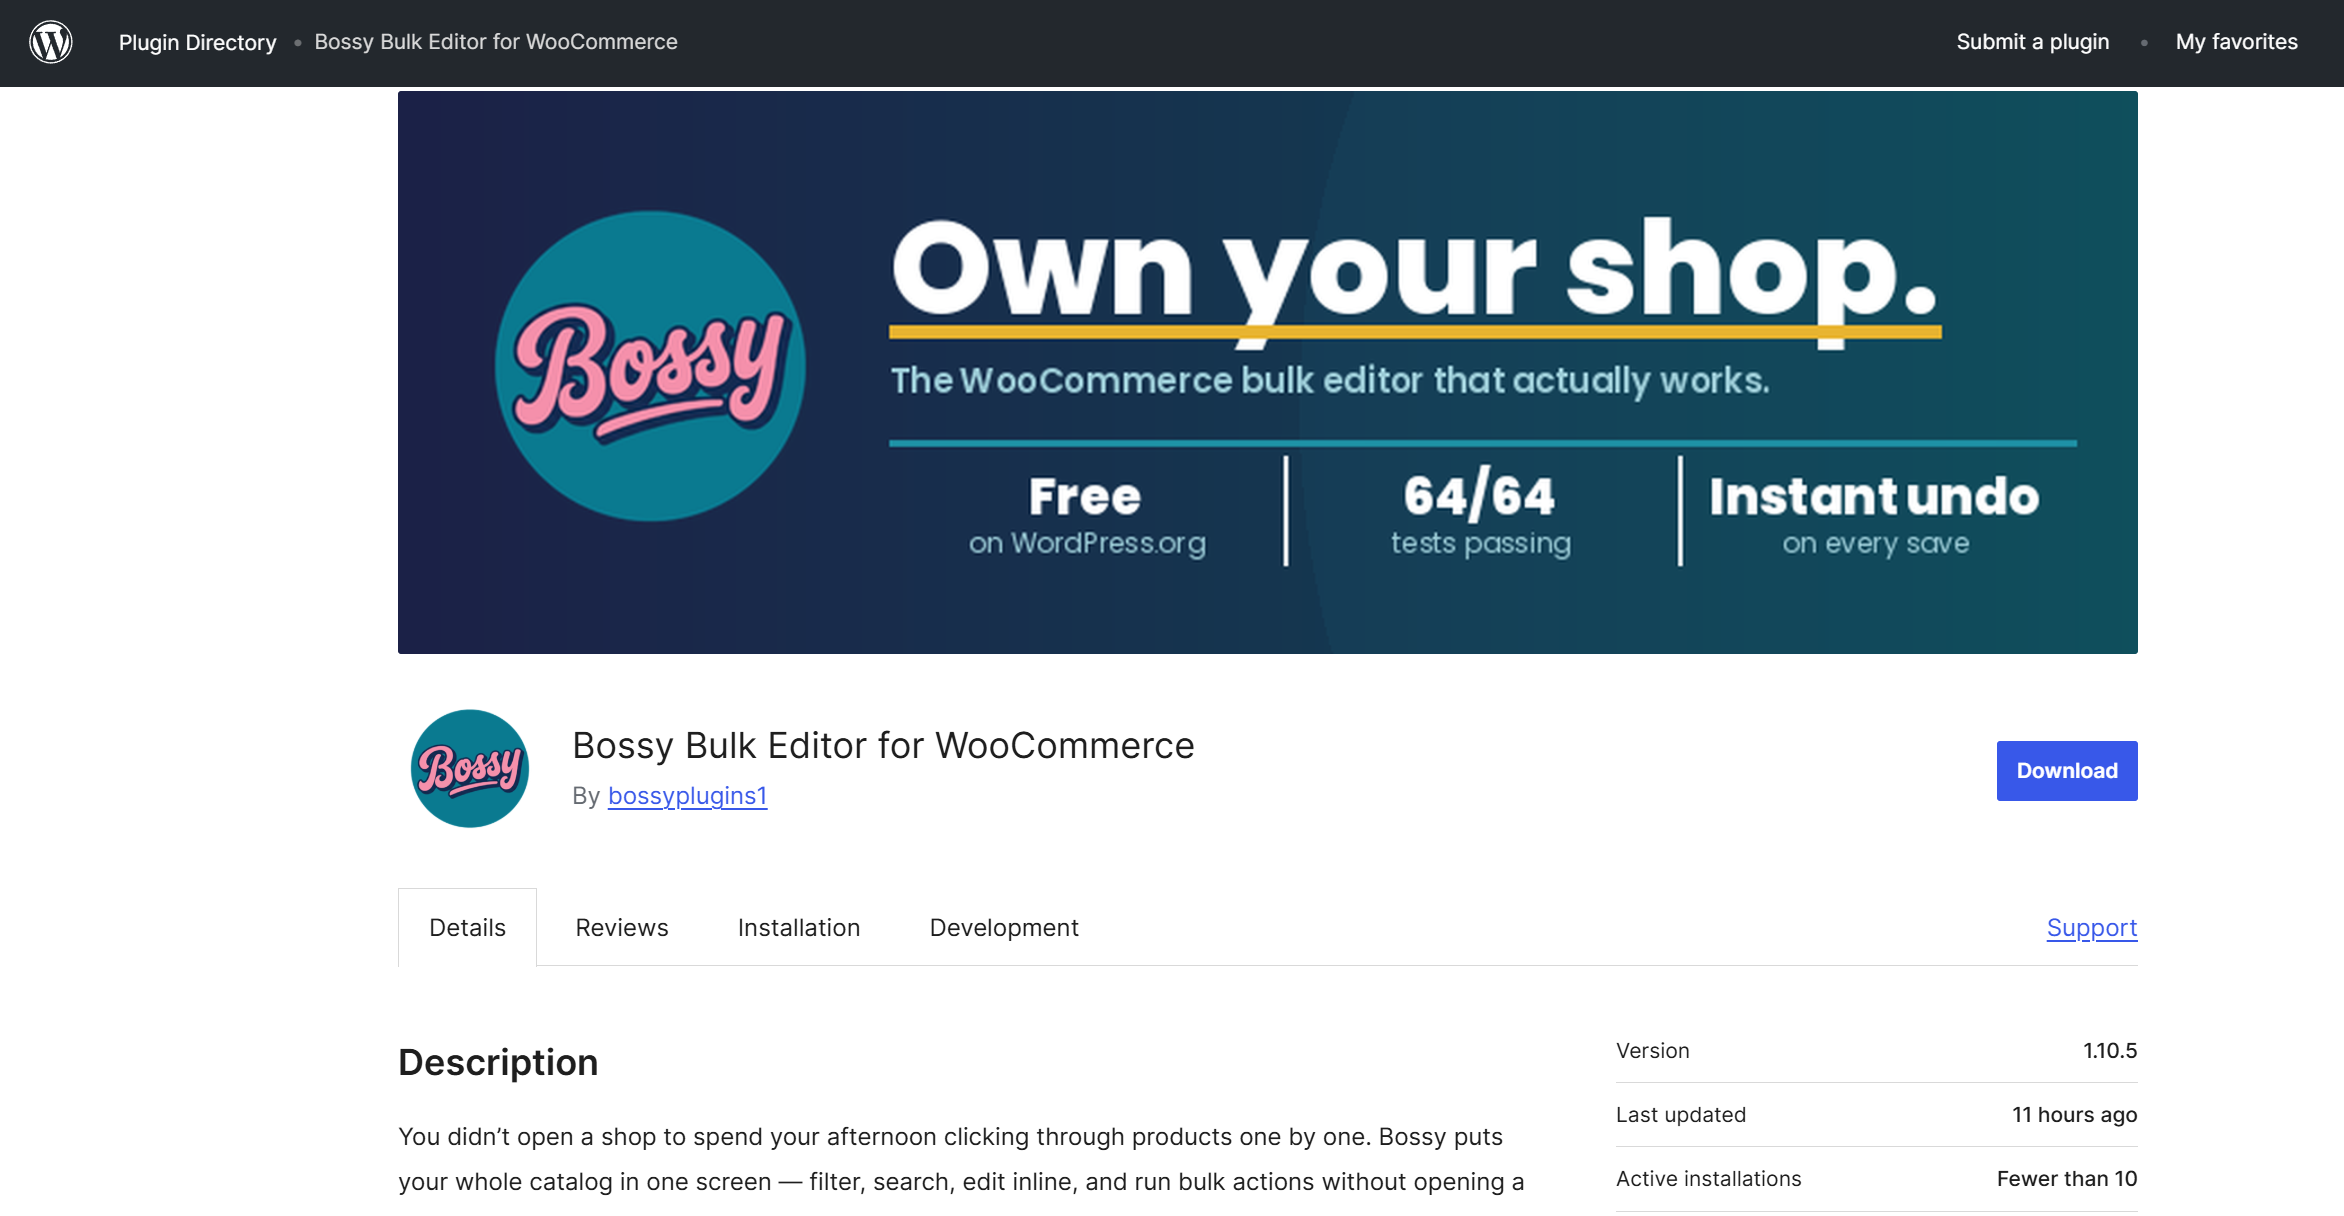
The free plugin is distributed through the WordPress.org plugin directory. You have two ways to install it.
Option A: Install from the plugin directory (recommended)
- In your WordPress admin, go to Plugins → Add New.
- Search for "Bossy Bulk Editor for WooCommerce".
- Click Install Now on the Bossy listing.
- When the button changes to Activate, click it.
Option B: Upload the zip manually
- Download the plugin zip from WordPress.org or from bossyplugins.com.
- In your WordPress admin, go to Plugins → Add New → Upload Plugin.
- Click Choose File, pick the zip, click Install Now.
- After install completes, click Activate Plugin.
Either way, after activation you land on a one-time welcome screen.
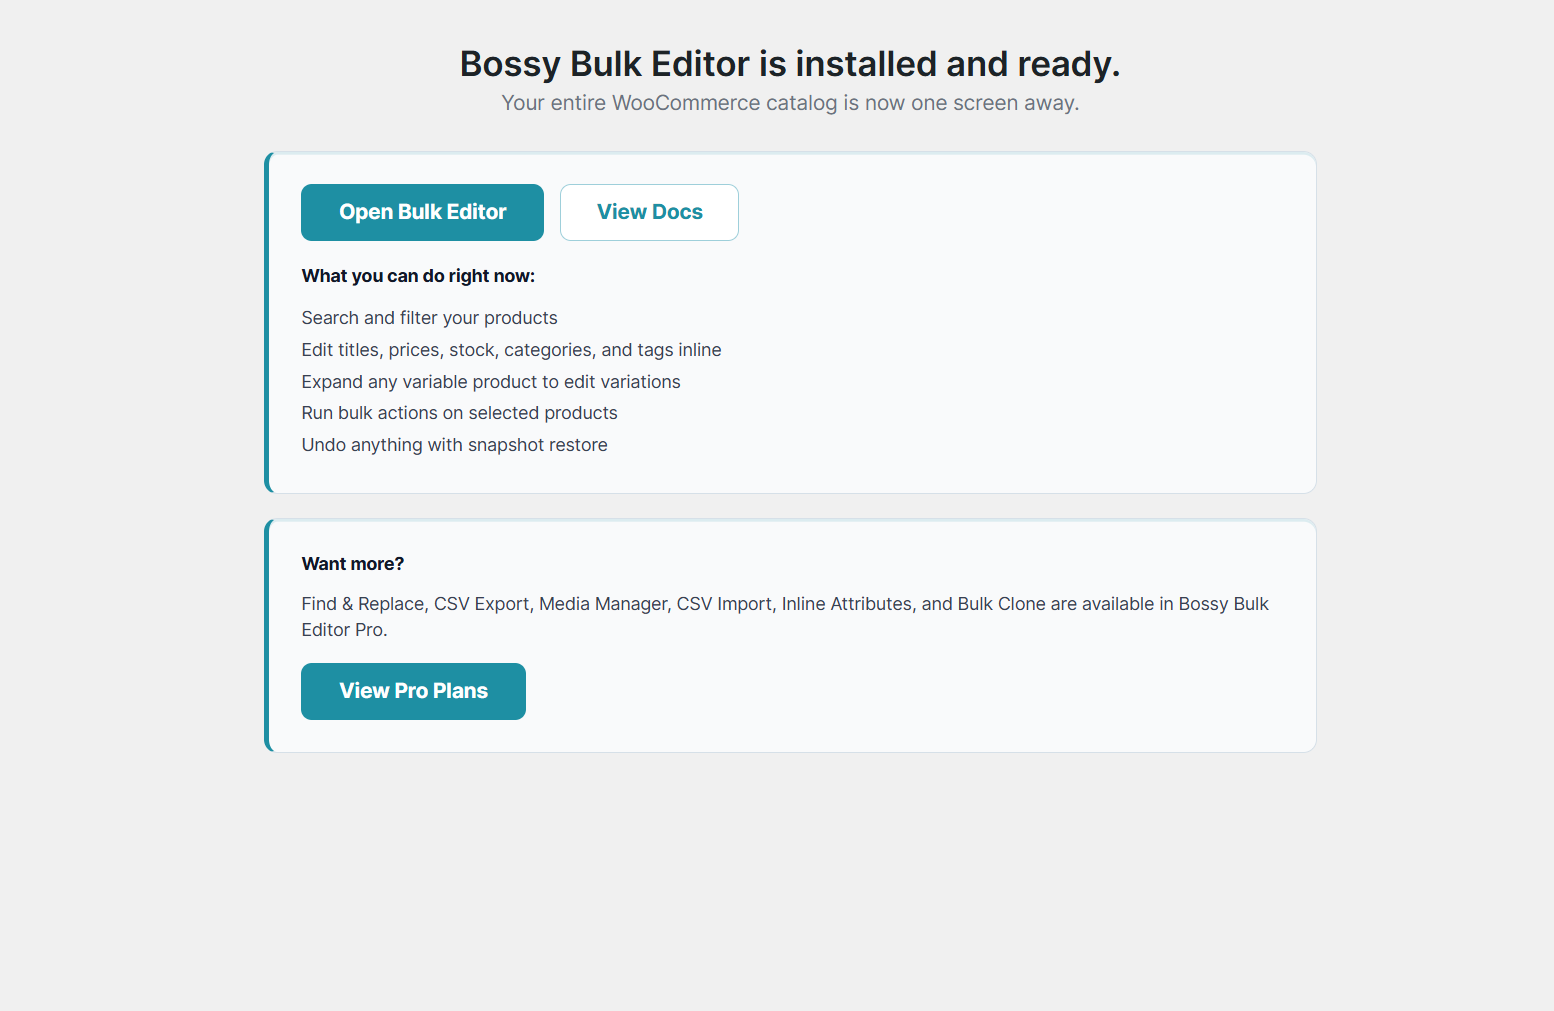
From the welcome screen, click Open Bulk Editor to land on the main grid, or View Docs to open this manual on bossyplugins.com.
1.4 Upgrading to Pro
Bossy Bulk Editor Pro is a separate, paid plugin sold from bossyplugins.com. It is not distributed through WordPress.org. Licensing is handled through Freemius, the same account and license system used by many WordPress plugins.
Free vs Pro at a glance
This is the verified breakdown based on what each package actually ships.
Free (WordPress.org) is the complete Bulk Editor: the product grid, every inline field, all eleven bulk-action panels (categories, tags, shipping class, price, sale dates, schedule publish, package weight, package size, stock, sequential SKU scheme, and fill-short-from-long), the inline variation editor, the variation image picker with its product image pool, grid trash, and unlimited undo snapshots. No product cap, no license key, no countdown timer.
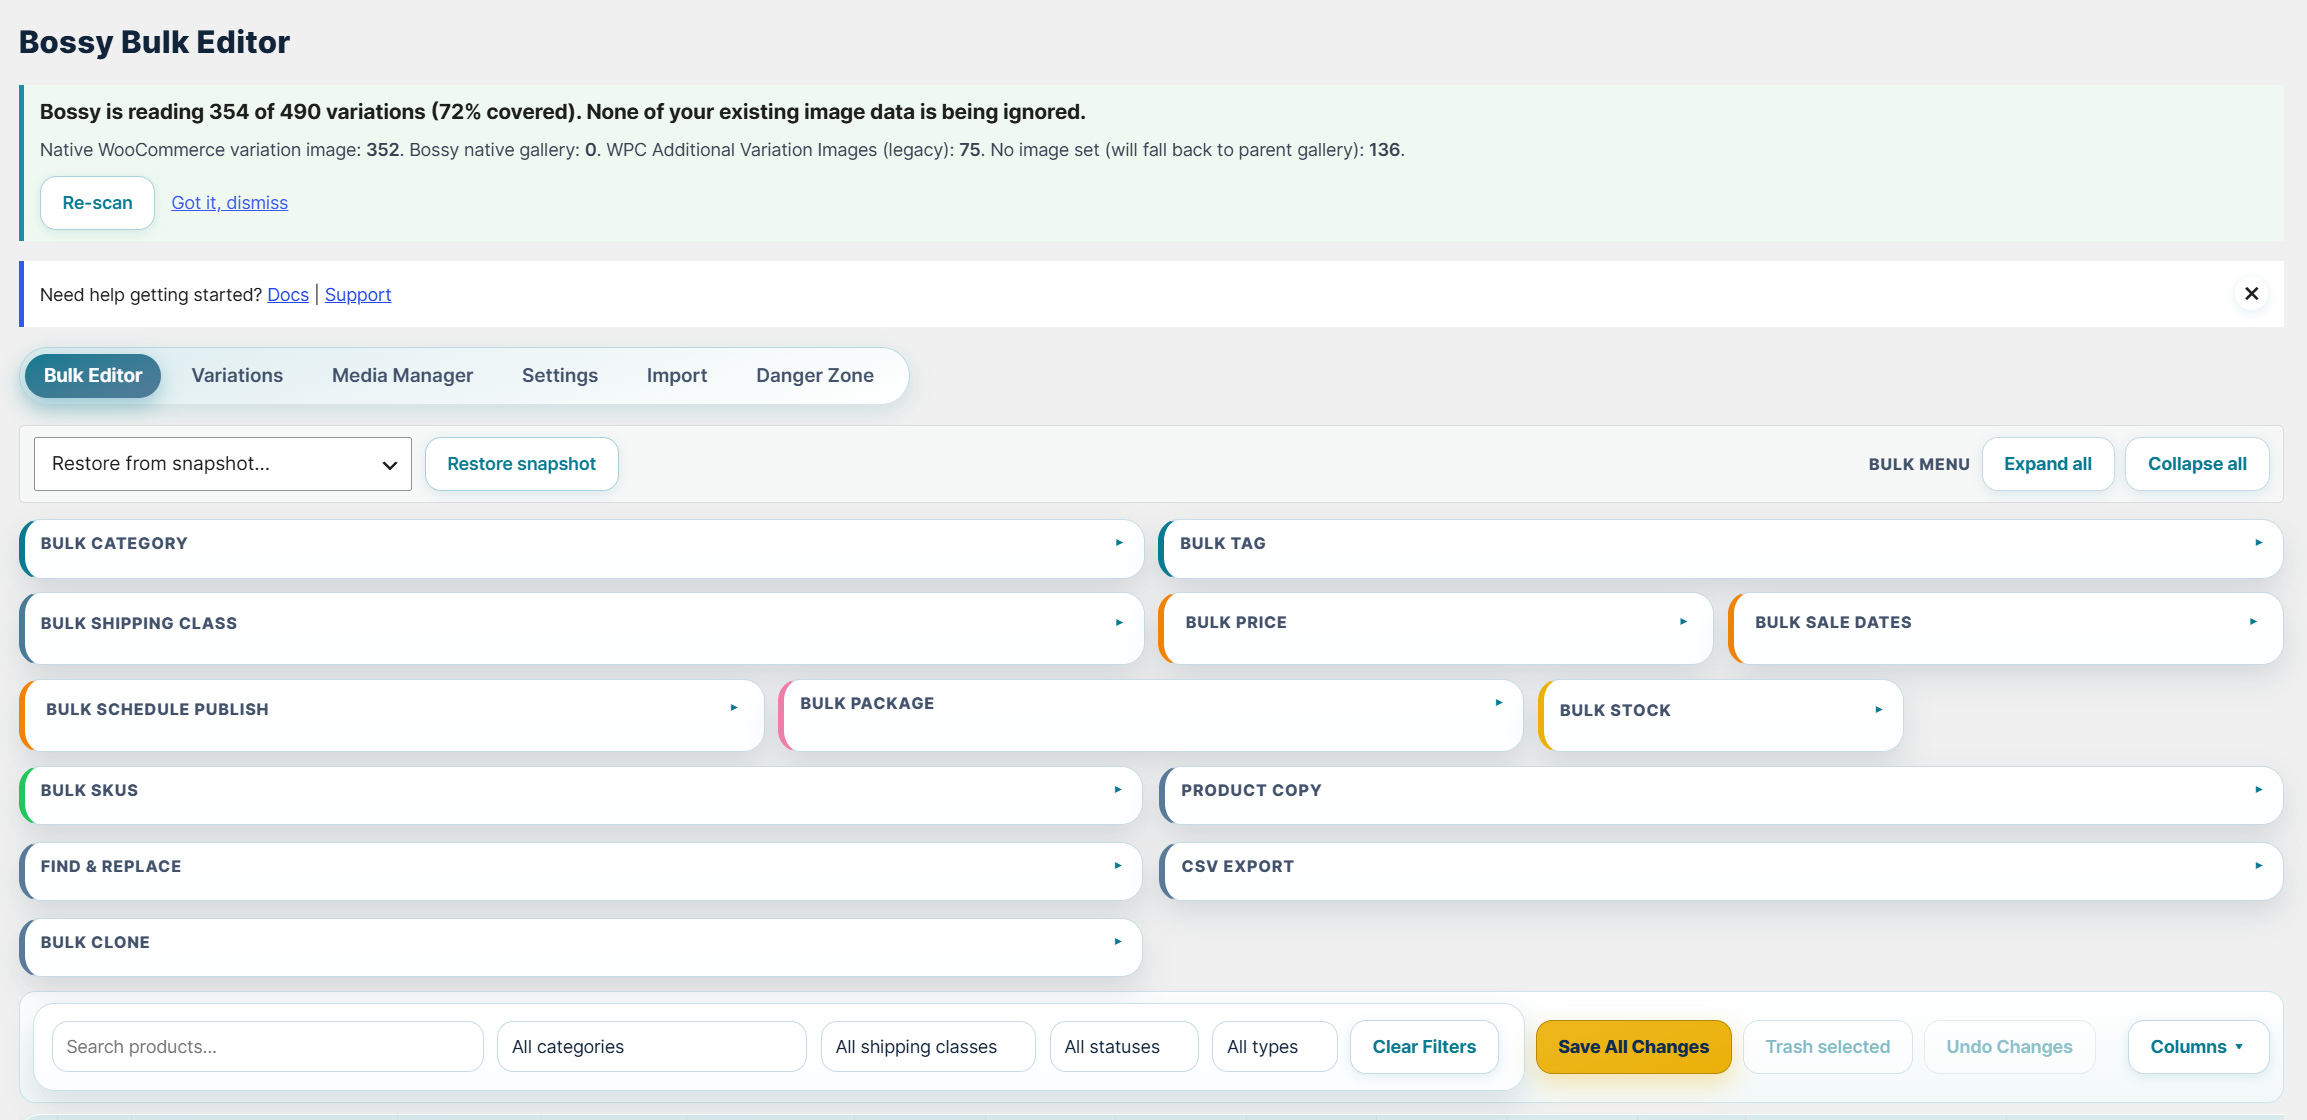
Pro (bossyplugins.com) adds four full admin tabs — Variations, Media Manager, Settings, and Import — plus three extra bulk-action panels inside the grid (Find & Replace, CSV Export, and Bulk Clone), an Attributes column, drag-and-drop variation images, storefront gallery layouts, Inline Attributes editing, and customer personalization fields. Every chapter marked Pro in the sidebar documents one of these additions.
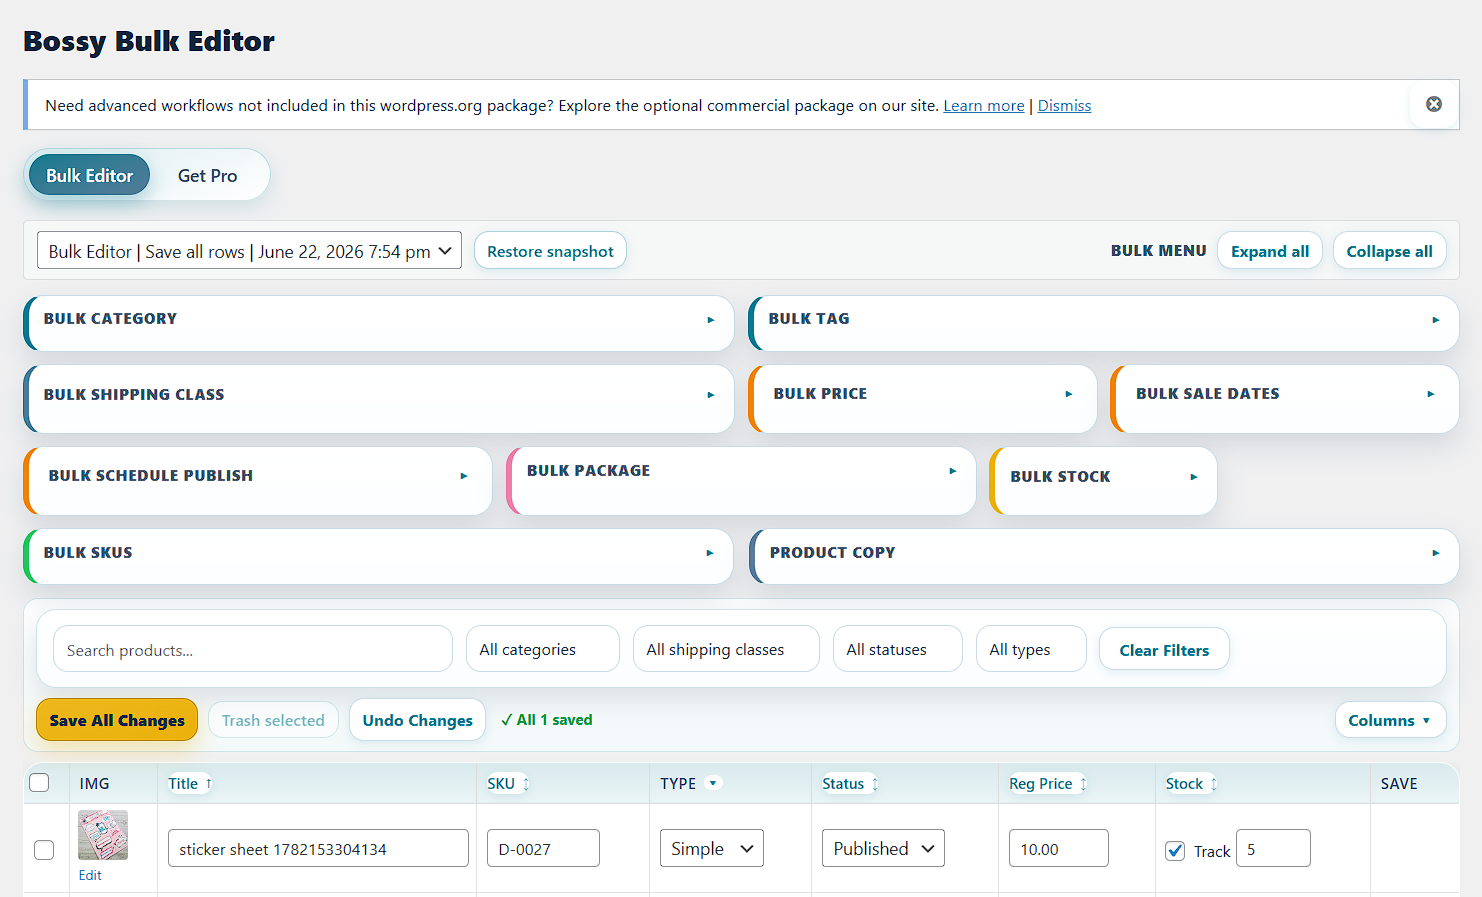
A note on the tabs row: in the free plugin, the Bossy admin shows only two tabs — Bulk Editor and Get Pro. The Variations, Media Manager, Settings, Import, and Danger Zone tabs do not appear at all. Free users never see grayed-out tabs or upsell-only tabs in the navigation. The single dismissible notice at the top of the Bulk Editor screen is the only in-admin mention of Pro.
How the Pro upgrade works
- Purchase Bossy Bulk Editor Pro at bossyplugins.com. After checkout, you receive a license key by email and through your bossyplugins.com account, along with the Pro plugin zip.
- In your WordPress admin, deactivate the free Bossy plugin. Do not delete it — your settings and snapshot history live in the database and will carry forward.
- Go to Plugins → Add New → Upload Plugin and install the Pro zip you downloaded from your account.
- Click Activate Plugin.
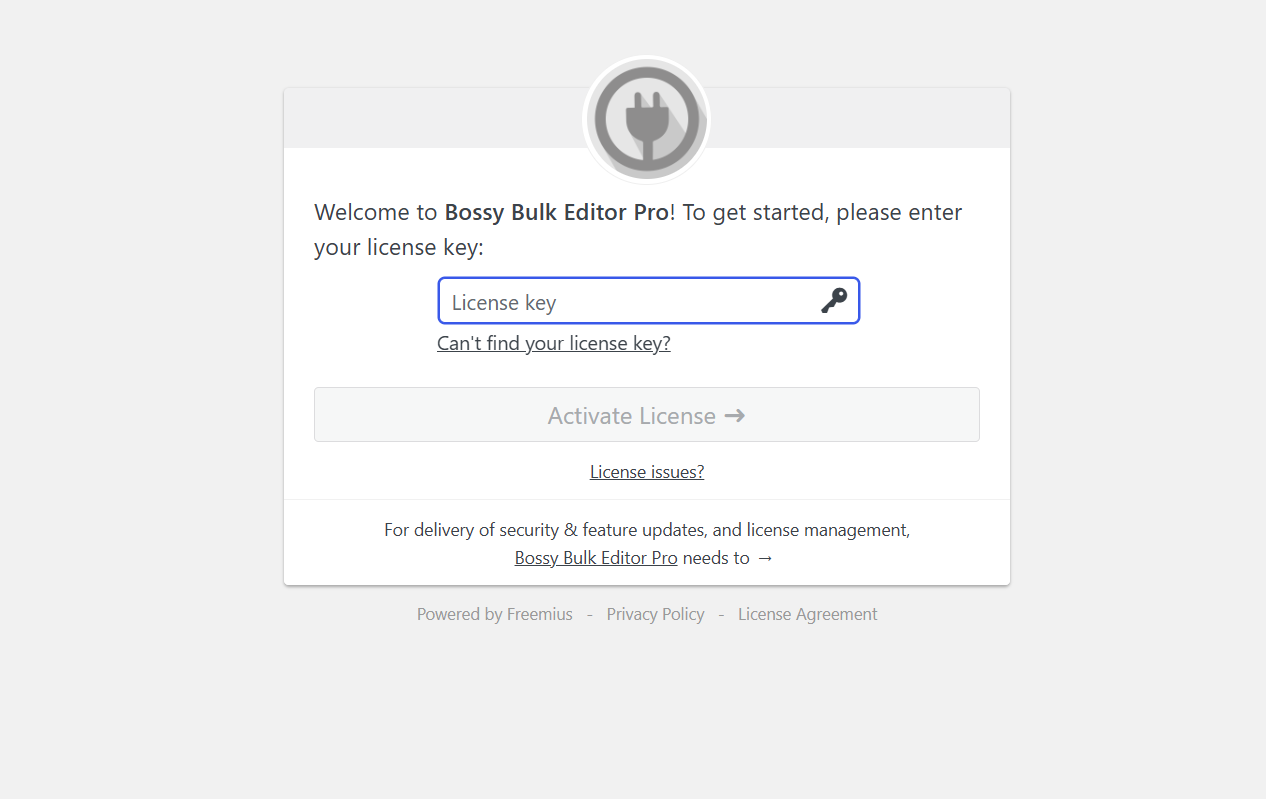
- On first activation, a Freemius opt-in screen appears. Click Activate License and enter the license key from your purchase email.
- Once the license is accepted, the Pro features unlock immediately. The Bossy admin now shows six tabs: Bulk Editor, Variations, Media Manager, Settings, Import, and Danger Zone.
- You can now delete the free plugin from your Plugins list.
Managing your license
After activation, Freemius adds an Account option to your Bossy plugin entry on the Plugins page (look for "Account" under "Bossy Bulk Editor Pro" in the Plugins list, or open the Freemius account screen from the plugin's action links). From there you can:
- View your active license and expiration date
- Deactivate your license on this site (use this before moving Pro to a different site, like staging to production)
- Check for and install Pro plugin updates
- Manage billing, payment methods, and subscription details
How many sites can one license activate?
License activation limits depend on which plan tier you purchased. Each plan lists its activation count on the bossyplugins.com pricing page at the time of purchase. If you need to use Pro on more sites than your current plan allows, you can upgrade your plan from your Freemius account at any time.
If your license expires
What still works when a Pro license expires:
- The core Bulk Editor grid and all free bulk actions (price, sale dates, schedule publish, package weight and size, stock, categories, tags, shipping class, sequential SKU scheme, and fill-short-from-long)
- Variation editing on existing variations
- Undo snapshots and restore history (limited to actions taken with the free feature set)
- All your product data, including settings configured while Pro was active
What stops working when a Pro license expires:
- The Variations, Media Manager, Settings, Import, and Danger Zone tabs disappear — the admin drops back to Bulk Editor + Get Pro
- Your saved storefront gallery settings remain in the database but are no longer applied to the storefront
- Pro-only bulk-action panels (Find & Replace, CSV Export, Bulk Clone) leave the control deck
- Adding new variations from the Bossy grid
- Variation drag-and-drop image assignment
- Customer personalization fields on the storefront
1.5 Where to find Bossy in WordPress admin
After activation, Bossy lives under the WooCommerce menu in the WordPress admin sidebar.
Path: WordPress admin sidebar → WooCommerce → Bossy Bulk Editor
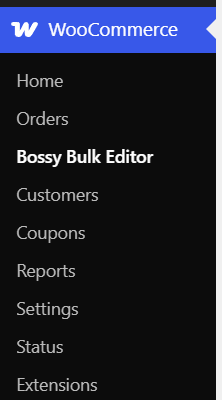
Click Bossy Bulk Editor to open the main screen.
What the navigation looks like
Free plugin: the top of the Bossy screen shows two tabs — Bulk Editor and Get Pro. The Bulk Editor tab is the entire free editing interface. The Get Pro tab is a simple information page linking to the separate commercial package at bossyplugins.com — no locked features, no grayed-out controls anywhere in the free plugin.
Pro plugin (license active): the top of the Bossy screen shows six tabs:
- Bulk Editor — the product grid (default tab)
- Variations — the dedicated variation-management workspace (Chapter 13)
- Media Manager — manage product galleries and image metadata from one screen (Chapter 4)
- Settings — storefront gallery layout and per-variation gallery controls (Chapter 6)
- Import — CSV import with column mapping (Chapter 5)
- Danger Zone — destructive maintenance actions such as delete all images and delete all products (Chapter 8)
Required permissions
Bossy uses standard WordPress capabilities to decide what each user can do.
- To see the Bossy menu and use the Bulk Editor, a user needs the
edit_productscapability. By default, this comes with the Administrator and Shop Manager roles in WooCommerce. - Each individual product write is checked against
edit_postfor that specific product, and trashing a product additionally requiresdelete_postfor it. WordPress enforces these per-product at the moment you act. - To save changes in the Settings tab (Pro), a user needs the
manage_optionscapability. By default, only Administrators have this. Shop Managers can open the Settings tab but will hit a permission error when they try to save. - To restore a snapshot (undo), the same user who created the snapshot must be logged in. You cannot restore a snapshot another user created, even if you are an Administrator. Restoration also re-checks per-product edit permissions at restore time.
First-time landing page
The first time you click WooCommerce → Bossy Bulk Editor after activation, you land on a welcome screen with two buttons: Open Bulk Editor and View Docs. After the first visit, clicking the Bossy menu item takes you straight to the Bulk Editor grid by default.
If you ever want to see the welcome screen again, append &bossy_welcome=1 to the Bossy admin URL.
Chapter 1 recap
- Bossy lives at WooCommerce → Bossy Bulk Editor in WordPress admin.
- Free shows two tabs (Bulk Editor + Get Pro). Pro, with an active license, shows six (Bulk Editor, Variations, Media Manager, Settings, Import, Danger Zone).
- You need the
edit_productscapability to use Bossy. You needmanage_optionsto save Pro settings, anddelete_poston a product to trash it. - Upgrading from free to Pro is a swap — deactivate free, install Pro, activate. All your data carries forward.
- Bossy is not a backup tool. Keep your regular site backups running, especially before using Danger Zone (Pro).